How to replace the electrodes of Fujikura 90S+ fusion splicer
Why need replace the electrodes for your Fujikura 90s+ fusion splicer?
Fujikura recommend customer to replace the electrodes , because worn electrode result in larger splice loss since bad fusing condition,even case fusion splicer problem.
When do I need to change the electrode and how often need to replace the electrodes?
It is recommended to replace it after 5000 times several fusions .
When the welding machine has the following problems, the ElCT2-16B electrodes needs to be replaced
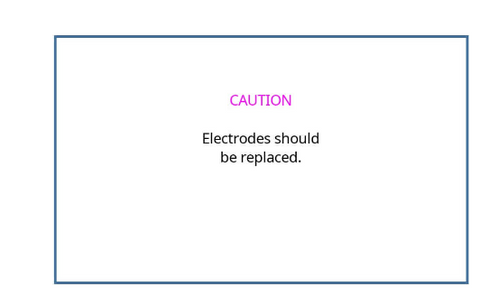
1. "replace electrodes" on the fujikura 90s+ splicing machine monitor.
2. The fusing position moves left and right unstably, or becomes dark or too bright during fusing.
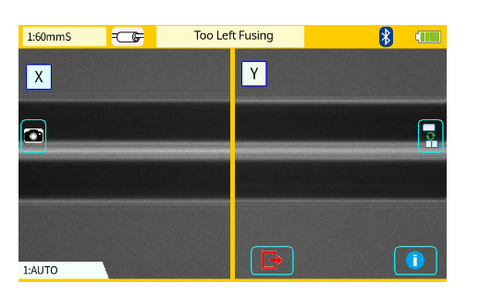
3. "Too left fusing error" or "Too right fusing error" is displayed on the fujikura 90s+ fusion splicer screen
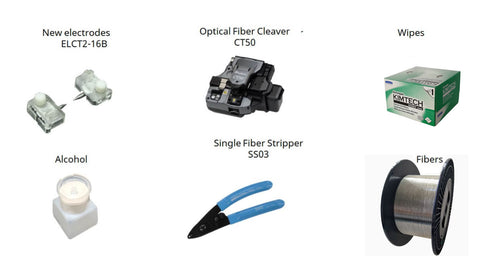
Wipes
Alcohol
G652 SM fiber
1. Turn on the FUJIKURA 90S plus fusion splicer power keyboard.
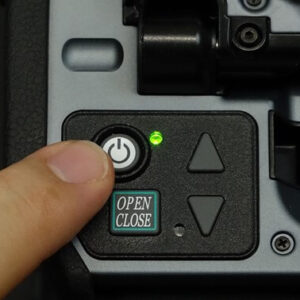
2. Press the [Menu] Icon in [Ready] state on the monitor. Then press the maintenance Icon on the main menu. And then press the Replace Electrode icon on Maintenance Menu.

3. The Press the [OK] Icon in menu to turn off the splicer power. When turning off the splicer power, do not press the power switch. If you turn off the splicer power by pressing the power switch, the splicer does not instruct to replace the electrodes.

4. Open the 90s+ wind protector by the hand. And loosen the electrode fixture nob by finger. And remove the both electrodes from the splicer.

5. Remove the electrode cover. Don’t bend the electrode tips.

6. Attach the electrodes and tighten the electrode fixture nob by finger. Be careful not to hit any parts and bend the electrode tips.
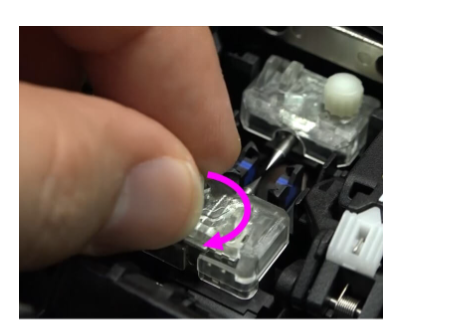
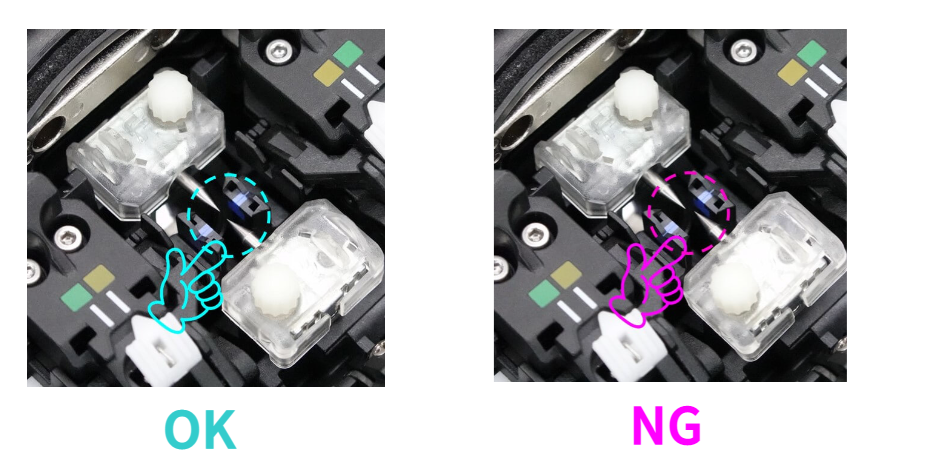
If the electrodes are not properly attached to the splicer, the tips of the electrode rods will shift.
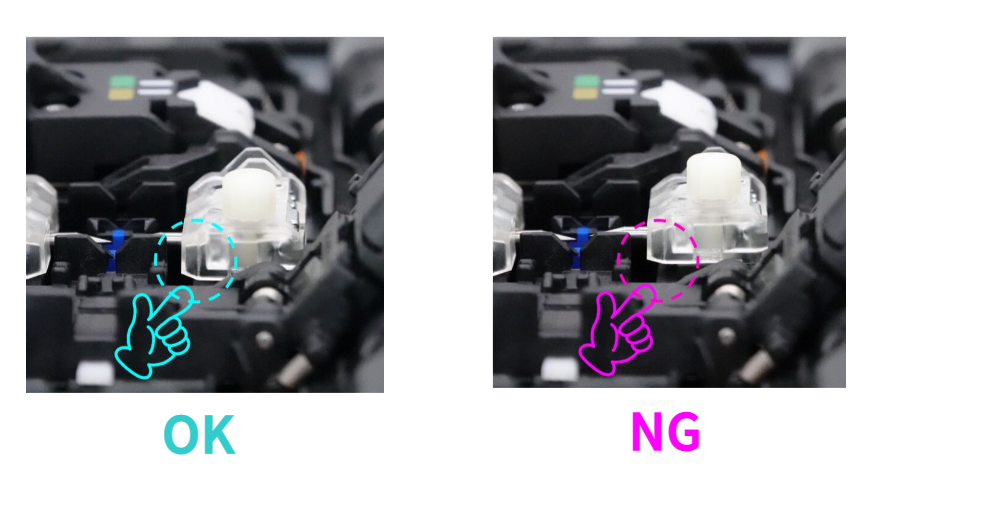
If the electrode is not installed in the splicer properly it will be lifted up and higher than the electrode which is installed properly.
7. Turn on the splicer power. When the power-on sequence is complete, the Stabilize Electrodes menu is displayed on the monitor.

8. Perform Stabilize Electrodes as set the right and left fibers that cleaved into the splicer. Press the start icon on the monitor.

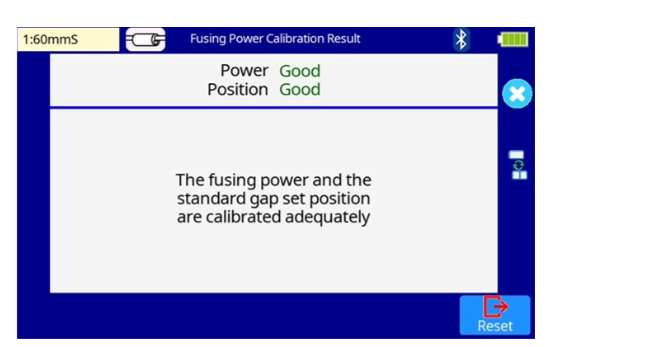
9. Perform Fusing Power Calibration. Set the right and left fibers that cleaved into the splicer. Press the start icon on the monitor.

10. Fujikura 90s+ fusion splicer Fusing Power Calibration is completed.
